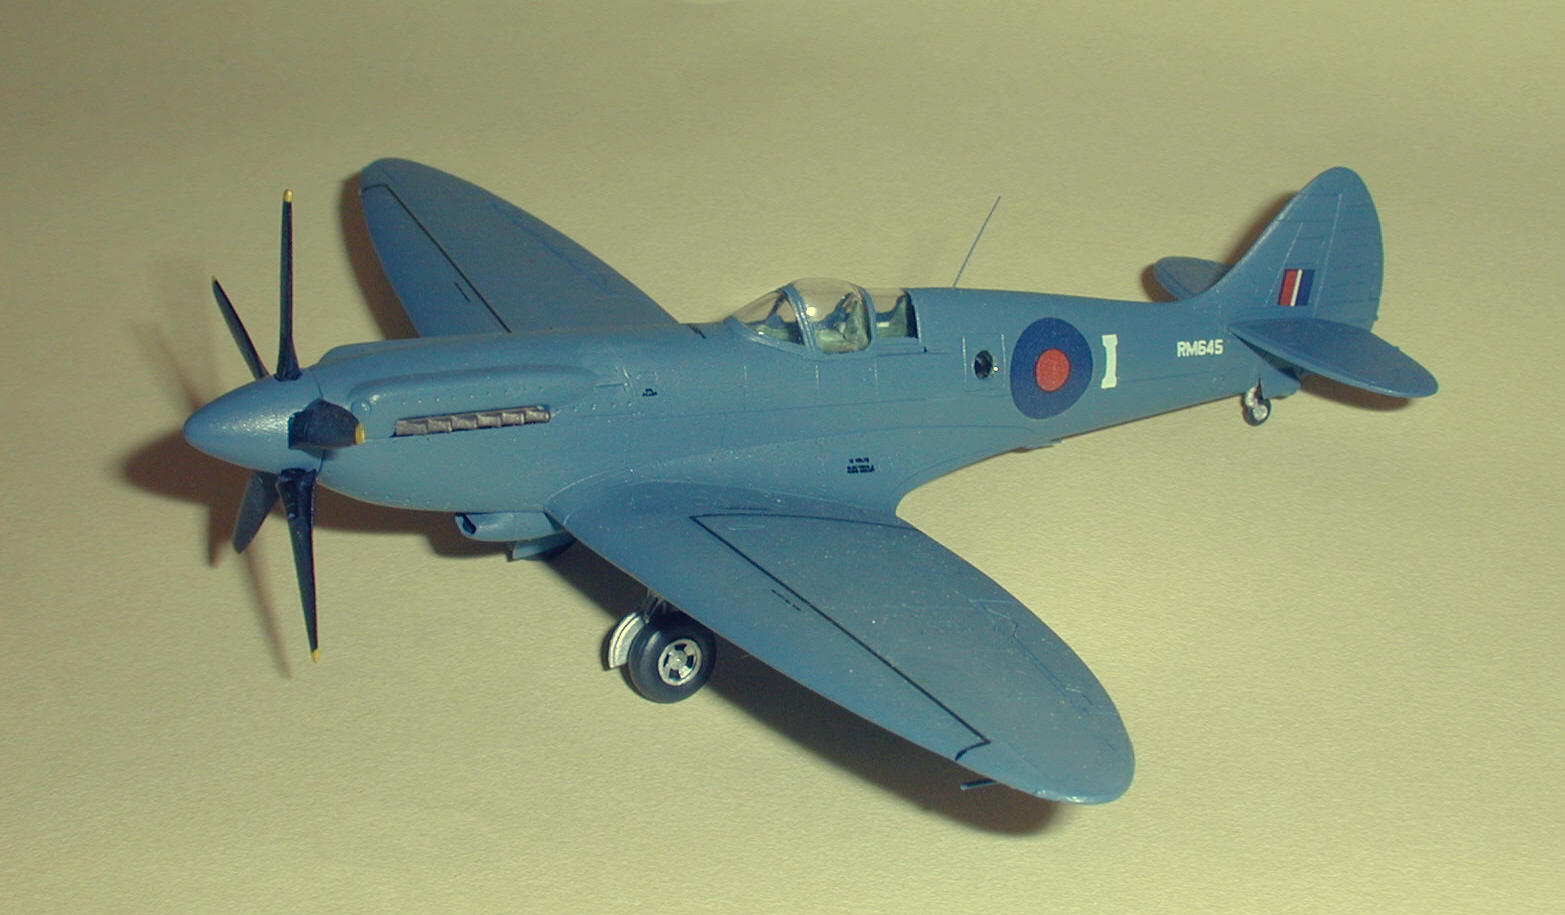
Fujimi 1/72 Spitfire PR.XIX
Ł10 is a lot to pay for a 1/72 kit of a Spitfire but the mouldings looked good so I took the plunge. Knowing that
this was one of a number of variants based on the same mouldings I expected a certain amount of extra work
would be needed over that required for a "dedicated" kit but I did not appreciate just how much this variant,
in particular, would leave to the modeller:-
- Fujimi have not changed the wing moulding to reflect one of the main differences of the XIX - IT WAS
UNARMED ! They do put a note (symbol !) in the instructions for the gun bay panel lines etc. to be filled
but leave you to guess that the gunsight should not be fitted. Also fill the engraved hatch where the camera
would be if on the starboard side and fill/engrave to change the ailerons to the longer span type.
- Open the tailwheel doors if you want a model with undercarriage down as most Griffon Spitfires (except
early XIIs) had retractable tailwheels. Insert a piece of the thinnest Contrail tubing as a mount for the
tailwheel.
- Remove the "shelf" behind the pilots seat after using it to help align the fuselage halves and fit "rollover
pylon" and seat and head armour. Add other detail to taste. Whilst in the cockpit area remove the
fighter style coaming from below the windscreen (without enlarging the cockpit opening).
- The first 26 aircraft did not have pressure cabins, corresponding, I think, to serials in the RM range.
These also appear to be the only ones which served during WWII. The following modifications should
be made in order to produce one of these early variants :-
- remove the part bulkhead from the fuselage spine mounding
- remove the cabin compressor moulding from below the port exhausts
- do not fit the small fairing for the compressor exhaust (which Fujimi expect you to make from scrap plastic anyway)
- make the canopy look like one with a curved windscreen and rails to slide on.
- fit "fishtail" exhausts (I raided an old Aeroclub XIV - note Griffon exhausts are longer than Merlin ones)
- Do not join the engine cowling halves until shortly before you attach them to the fuselage as a little flexibility
will let you adjust the fit.
- When joining upper and lower wing sections use the gentlest pressure you can get away with at the tips as
the wingtip mouldings are thicker than the section to which you have to mate them. Care is also needed to
ensure the leading and trailing edges of the tips line up with those of the wings.
- Not having the confidence in my painting hand I chose to assemble the spinner without the propellor
blades and fit them after painting which requires their locating pins to be shortened.
- The kit appears to be accurate in outline (depending on the drawings / photos you refer to) except for
needing just a touch of filler on the spine to fill the trench in the centre and give a slightly more
generous profile and some to remove the vertical join lines just ahead of the fin.
- Fit a whip aerial on top and a beam approach one (parallel to fuselage, mounted on a small bulge where
Fujimi have engraved an oval) below before painting overall PRU blue.
- Decals are slightly thick and glossy so I replaced roundels and flashes with Modeldecal items.
Comprehensive stencilling is supplied which can look excessive in this scale so I only used what I felt
like putting on, also I take issue with Fujimi about the location of the undercarriage up/down indicators.
The end result looks good, but then it should for the price !
By Ross Marven (from SIG newsletter 1/96)
© 2003 IPMS(UK) RAF WWII SIG